Walkthrough No. 1 - Creating Doomfletch
Bow Modeling
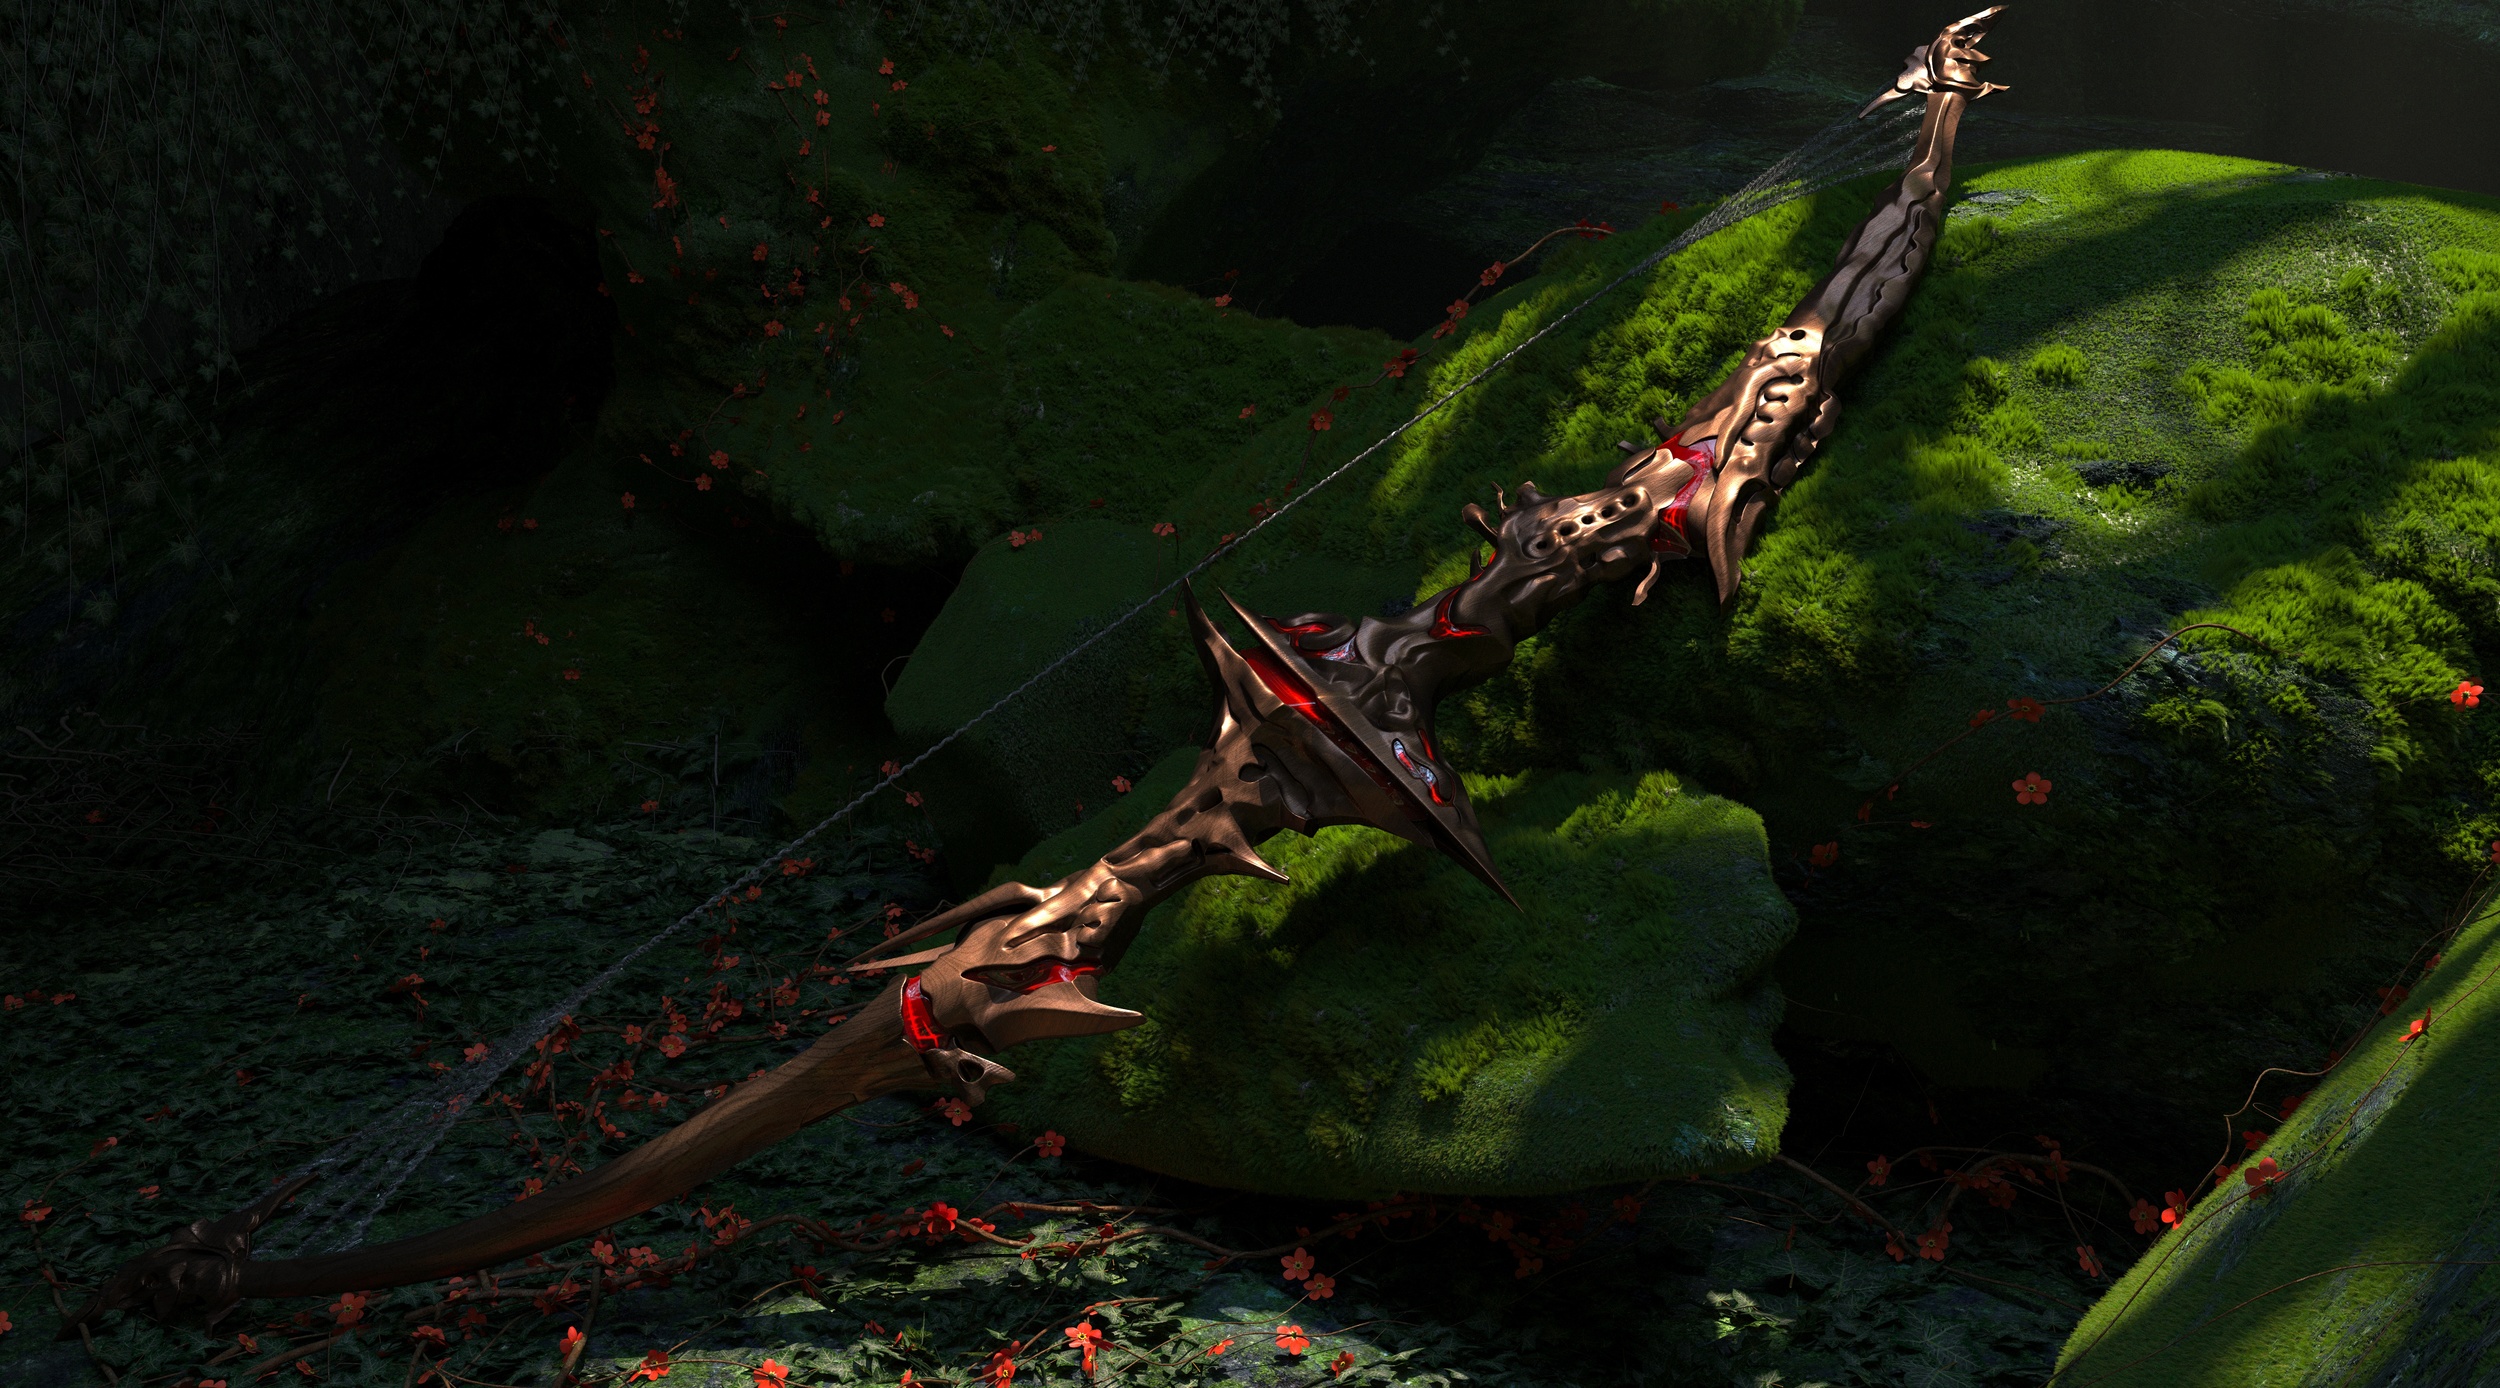
Firstly, thank you to any viewers for coming to check out/browse my site. I'll begin with the basics of scene setup. Initially I chose a prop concept that I felt would translate into 3d well (essentially something that I like.) After grabbing the concept for whichever scene/item I'm going to model --- which in this case is Doomfletch, Royal Bow --- I upsize the resolution in Photoshop for clarity, rotate it for vertical adjustment, and fit the image onto a plane object in 3ds Max (with the same aspect ratio). I then make sure the 3ds Max units are correct (centimeters in this case) & that gamma/LUT is in order (it should be by default); so we're off and ready to model. =} Tip: Having hotkeys is particularly useful for repetitive steps that would otherwise drain time (honestly I could save more time myself by setting extras up). My favorite hotkeys for spline modeling are vertex fusing and welding.
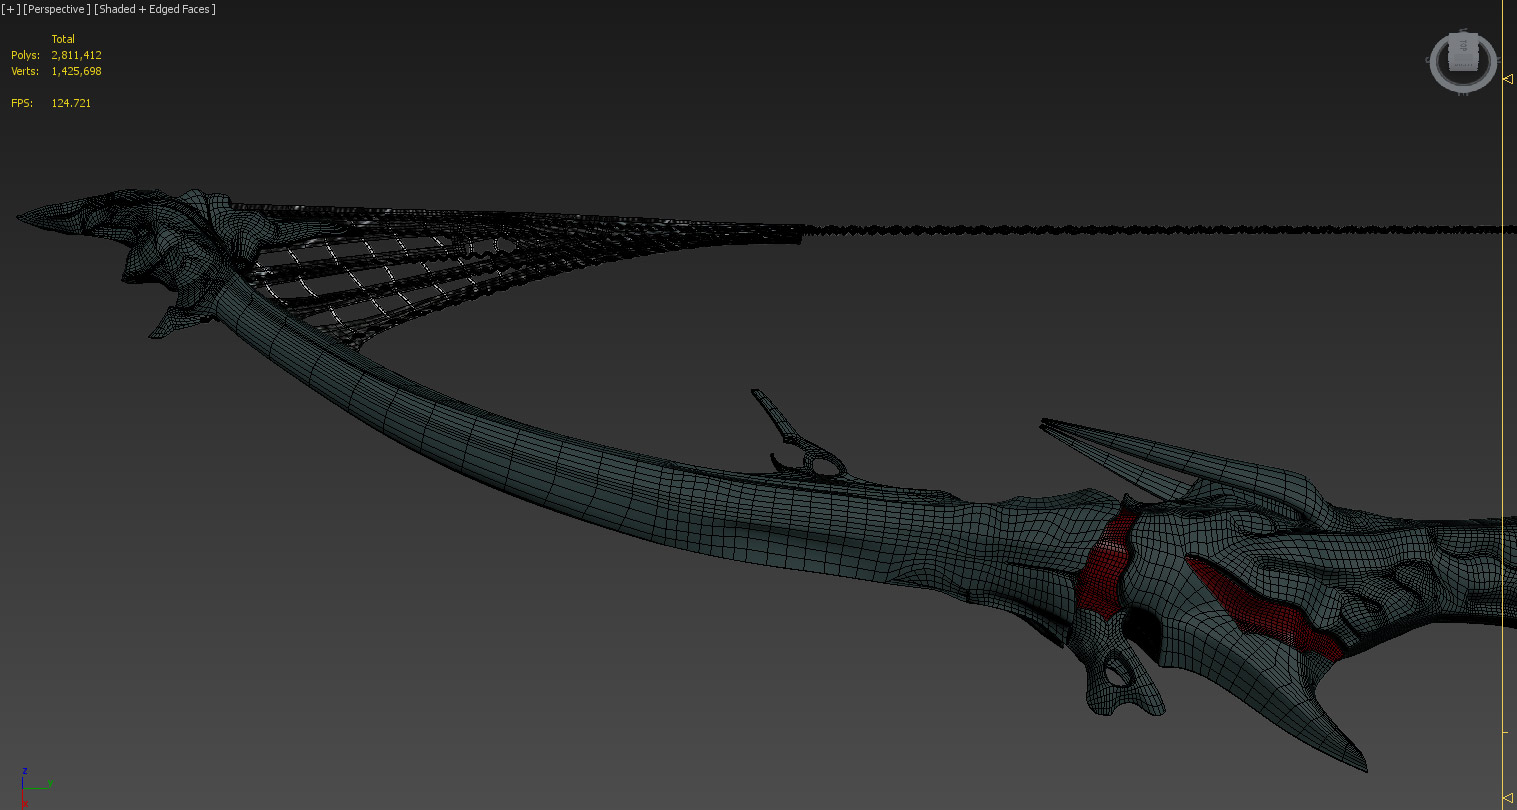
I start from a viewport with a top-down orthographic view, and begin with a single spline. From this point comes the [sometimes tedious] process of creating a clean, and detailed medium-poly model. As you can see in the gif animations below, splines are great for having control over the topology of your mesh at varying iterations. Each vertex on a spline is represented by a point that can be adjusted to form corners, curves and contours, and it's a connection between two vertices that form an edge; 4 connected edges form a quad that can be converted to an editable polygon via the surface modifier--- any of these can be manipulated/augmented during this process. Switching between the top viewport and perspective view allows me to create a mesh that is an approximate of the concept, simply based on the 2d shading. With practice you get used to creating models this way.
After I'm satisfied with the spline model, I add an editable poly modifier on-top of the surface modifier (3 iterations) so that I can work in edit poly mode. From this point I make some additional changes to the bow's shape, raising some areas and decreasing others --- using soft selection as well as the FFD(box) modifier. I also imported the model into Zbrush to do some minor alterations. I select the polygons of the relief sections that were modeled in relation to the red glowing areas of the concept, and detach them as a clone. Then I used shell modifier, and added some edge loops so that they're slightly sharper when subdivided.
I modeled the bow string using a helix that I path-deformed to follow a spline, and some additional shapes with poly modeling/splines --- fitting them with a material that uses cobweb images as the opacity map.
Environment/Scene Creation
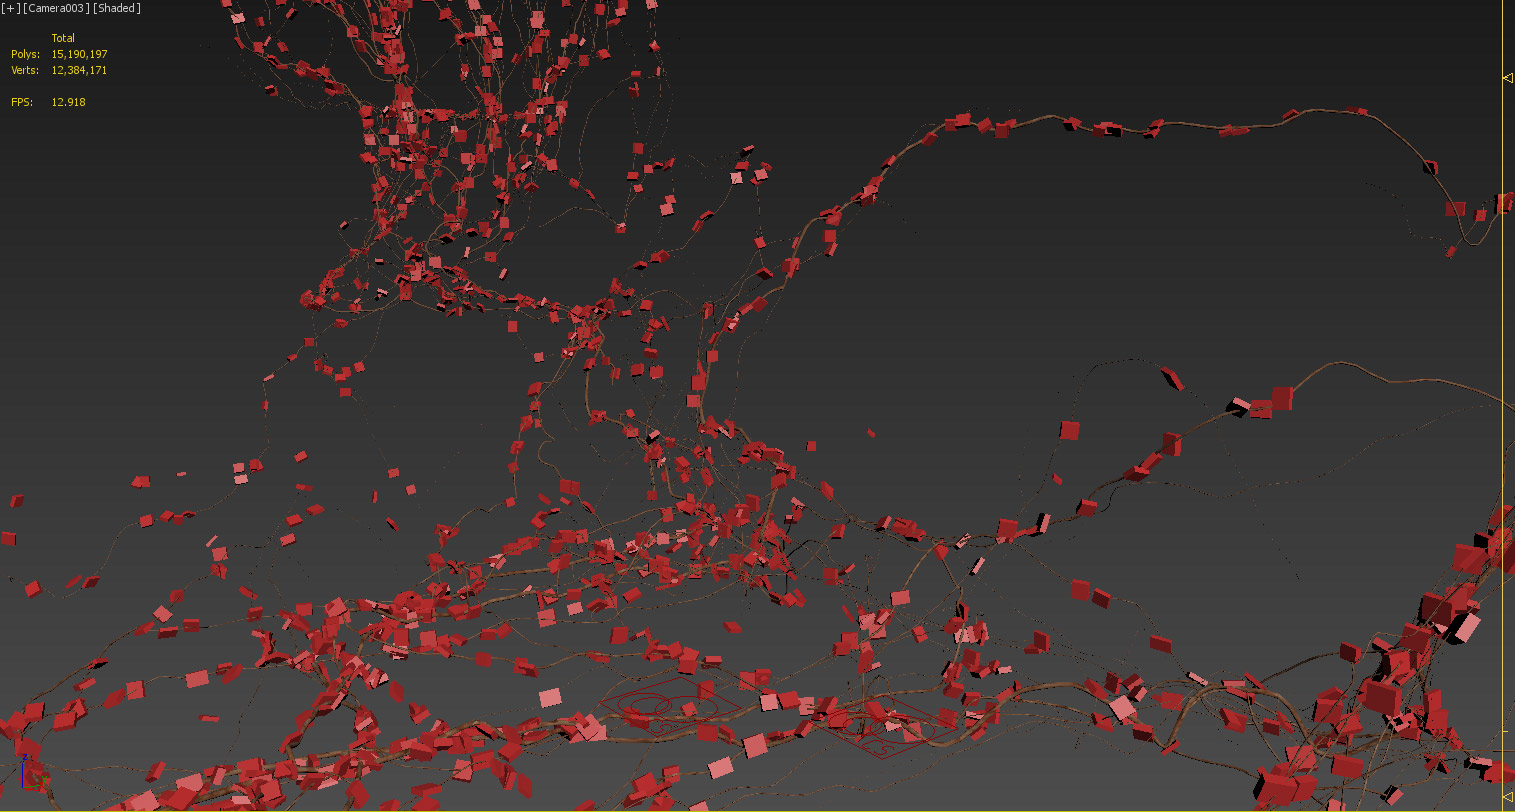
When it came to the environment I started by modeling some basic brick stone for the ground/floor. Some of the large stones were created using a great script called Rock Generator; and after generating the rocks I worked of these meshes, manipulating the shape using various modifiers. Other large stone surfaces were ones I custom modeled from scratch for a separate scene, but imported into this scene for the sake of practicality. For the ivy I used a script (gwivy) that procedurally generates vines in proximity to unhidden models, using its parameters to get the result I want. After growing the ivy in an older version of Max (it crashes the 2015 version), I export/import it into my scene, modify the UWVs using basic box mapping and UWV Xform, and apply the materials I created --- one for the leaves, and one for the shoots. After this I use Corona's inbuilt scatter system to distribute the flowers across some of the vines. I modeled and textured the flowers using a reference of a forget-me-not, after which I cloned and modified a couple variations.
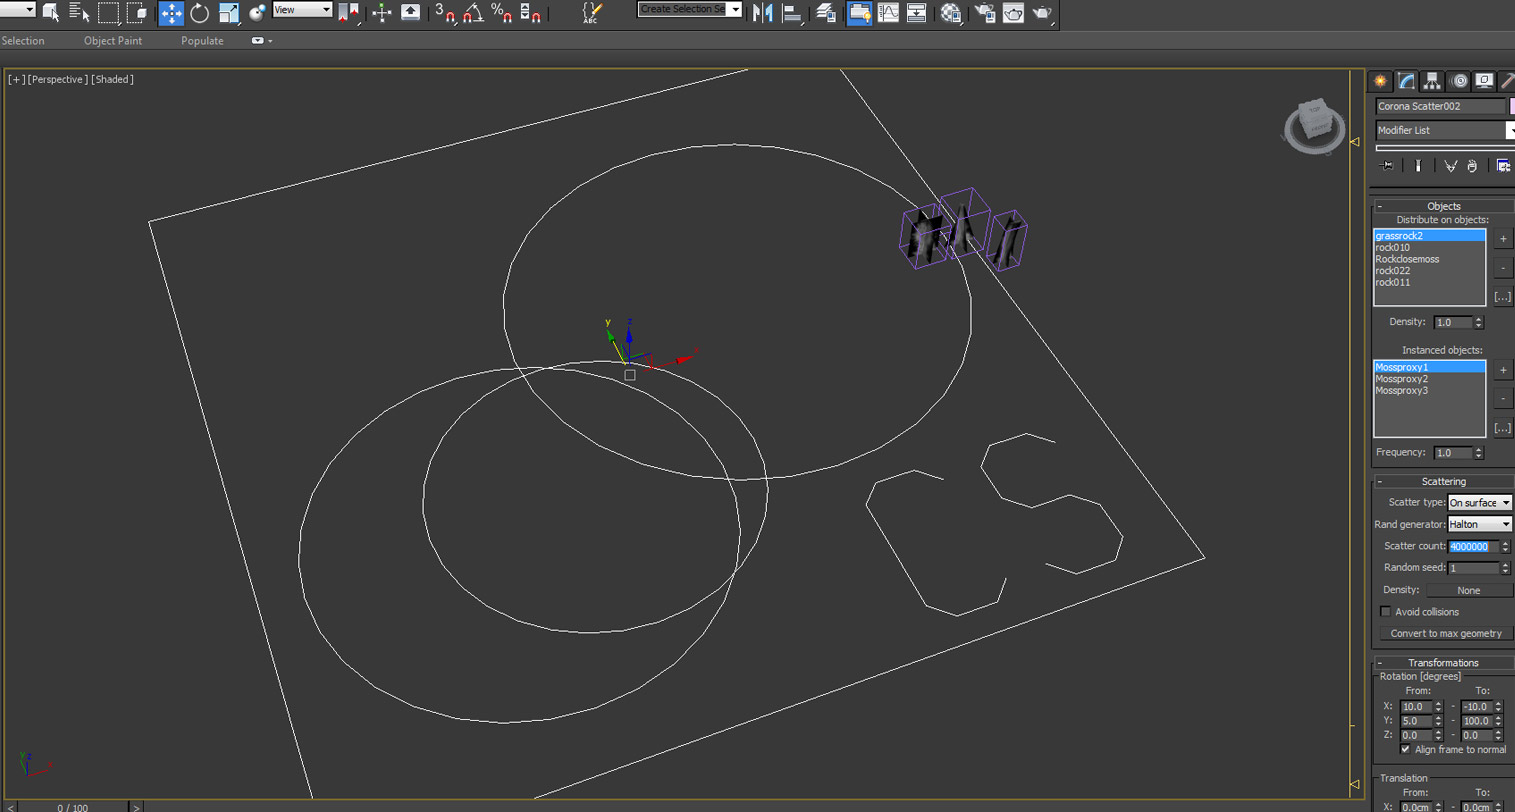
The moss, as seen in the 4th image below, was created in multiple steps. For the main component of the moss, I created a mesh with intersecting planes. After cloning and creating variations of this, I inserted them into CScatter to be scattered as the smallest moss across parts of the stone. Getting around to making the clumps, I distributed the small moss meshes over a displaced hemisphere using the Hair and Fur modifier, and converted it to max geometry. I then created a couple more variations of the clumps using different seeds and modifiers, after which I scattered these on a separate cloned editable poly, sitting below the the primary rock surface.
Having the bow imported and positioned was only other step in the scene design.
Textures & Lighting/Rendering
For the materials I gathered various textures from sources such as Google image search or cgtextures.com (great site). I used these textures for some diffuse slots, as well as a base for other slots (normal/bump map, reflective/gloss/ and displacement).
The main material for the bow is a series of corona mats that are blended/masked in various ways. I utilized a falloff map for blending more diffuse wood into a reflective one, which is subsequently blended into a darker material using ambient occlusion; which is then blended into a separate material using a procedural wood texture plugin called Berconmaps. There are other iterations in the hierarchy that give the final result.
The moss material is comprised of a moss diffuse texture (with varying hues/saturation via colorcorrection), that is also plugged with an alpha map of moss, and a medium translucency fraction (.5 light green). The stone texture is a multi-layered material; there are a few textures inserted into a composite map for blending rock and non-geometric moss, which is duplicated and mono-saturated for the reflection map, and for generating a normal map. Then I created a heightmap (grayscale texture) for displacement, which is what gives the stone some extra depth/detail.
As for the red glowing sections, I blended two materials; one with sharper crystal-like reflections and gemstone refraction. The other with less gloss and slightly translucent. Then I mirrored these sections, unwrapped them with basic flatten mapping, and saved the maps for painting in PS. While I set up the materials my gf sketched a custom glow overlay, on her tablet ( Black to white denoting intensity), which I plugged into the opacity slot . I sunk the mirrored strips below the red sections, after applying a CoronaLightMtl --- which used a red luminosity color, and the custom map for opacity.
The lighting is simplistic; a CoronaSun at .1 intensity, and a waterfall HDRI inserted into the environment slot with spherical projection. There's also a box between the main stones and background stones, with a corona volume material to simulate some air particles/dust. I encased the scene with a box that has openings, and window models I made for casting these particular shadows.
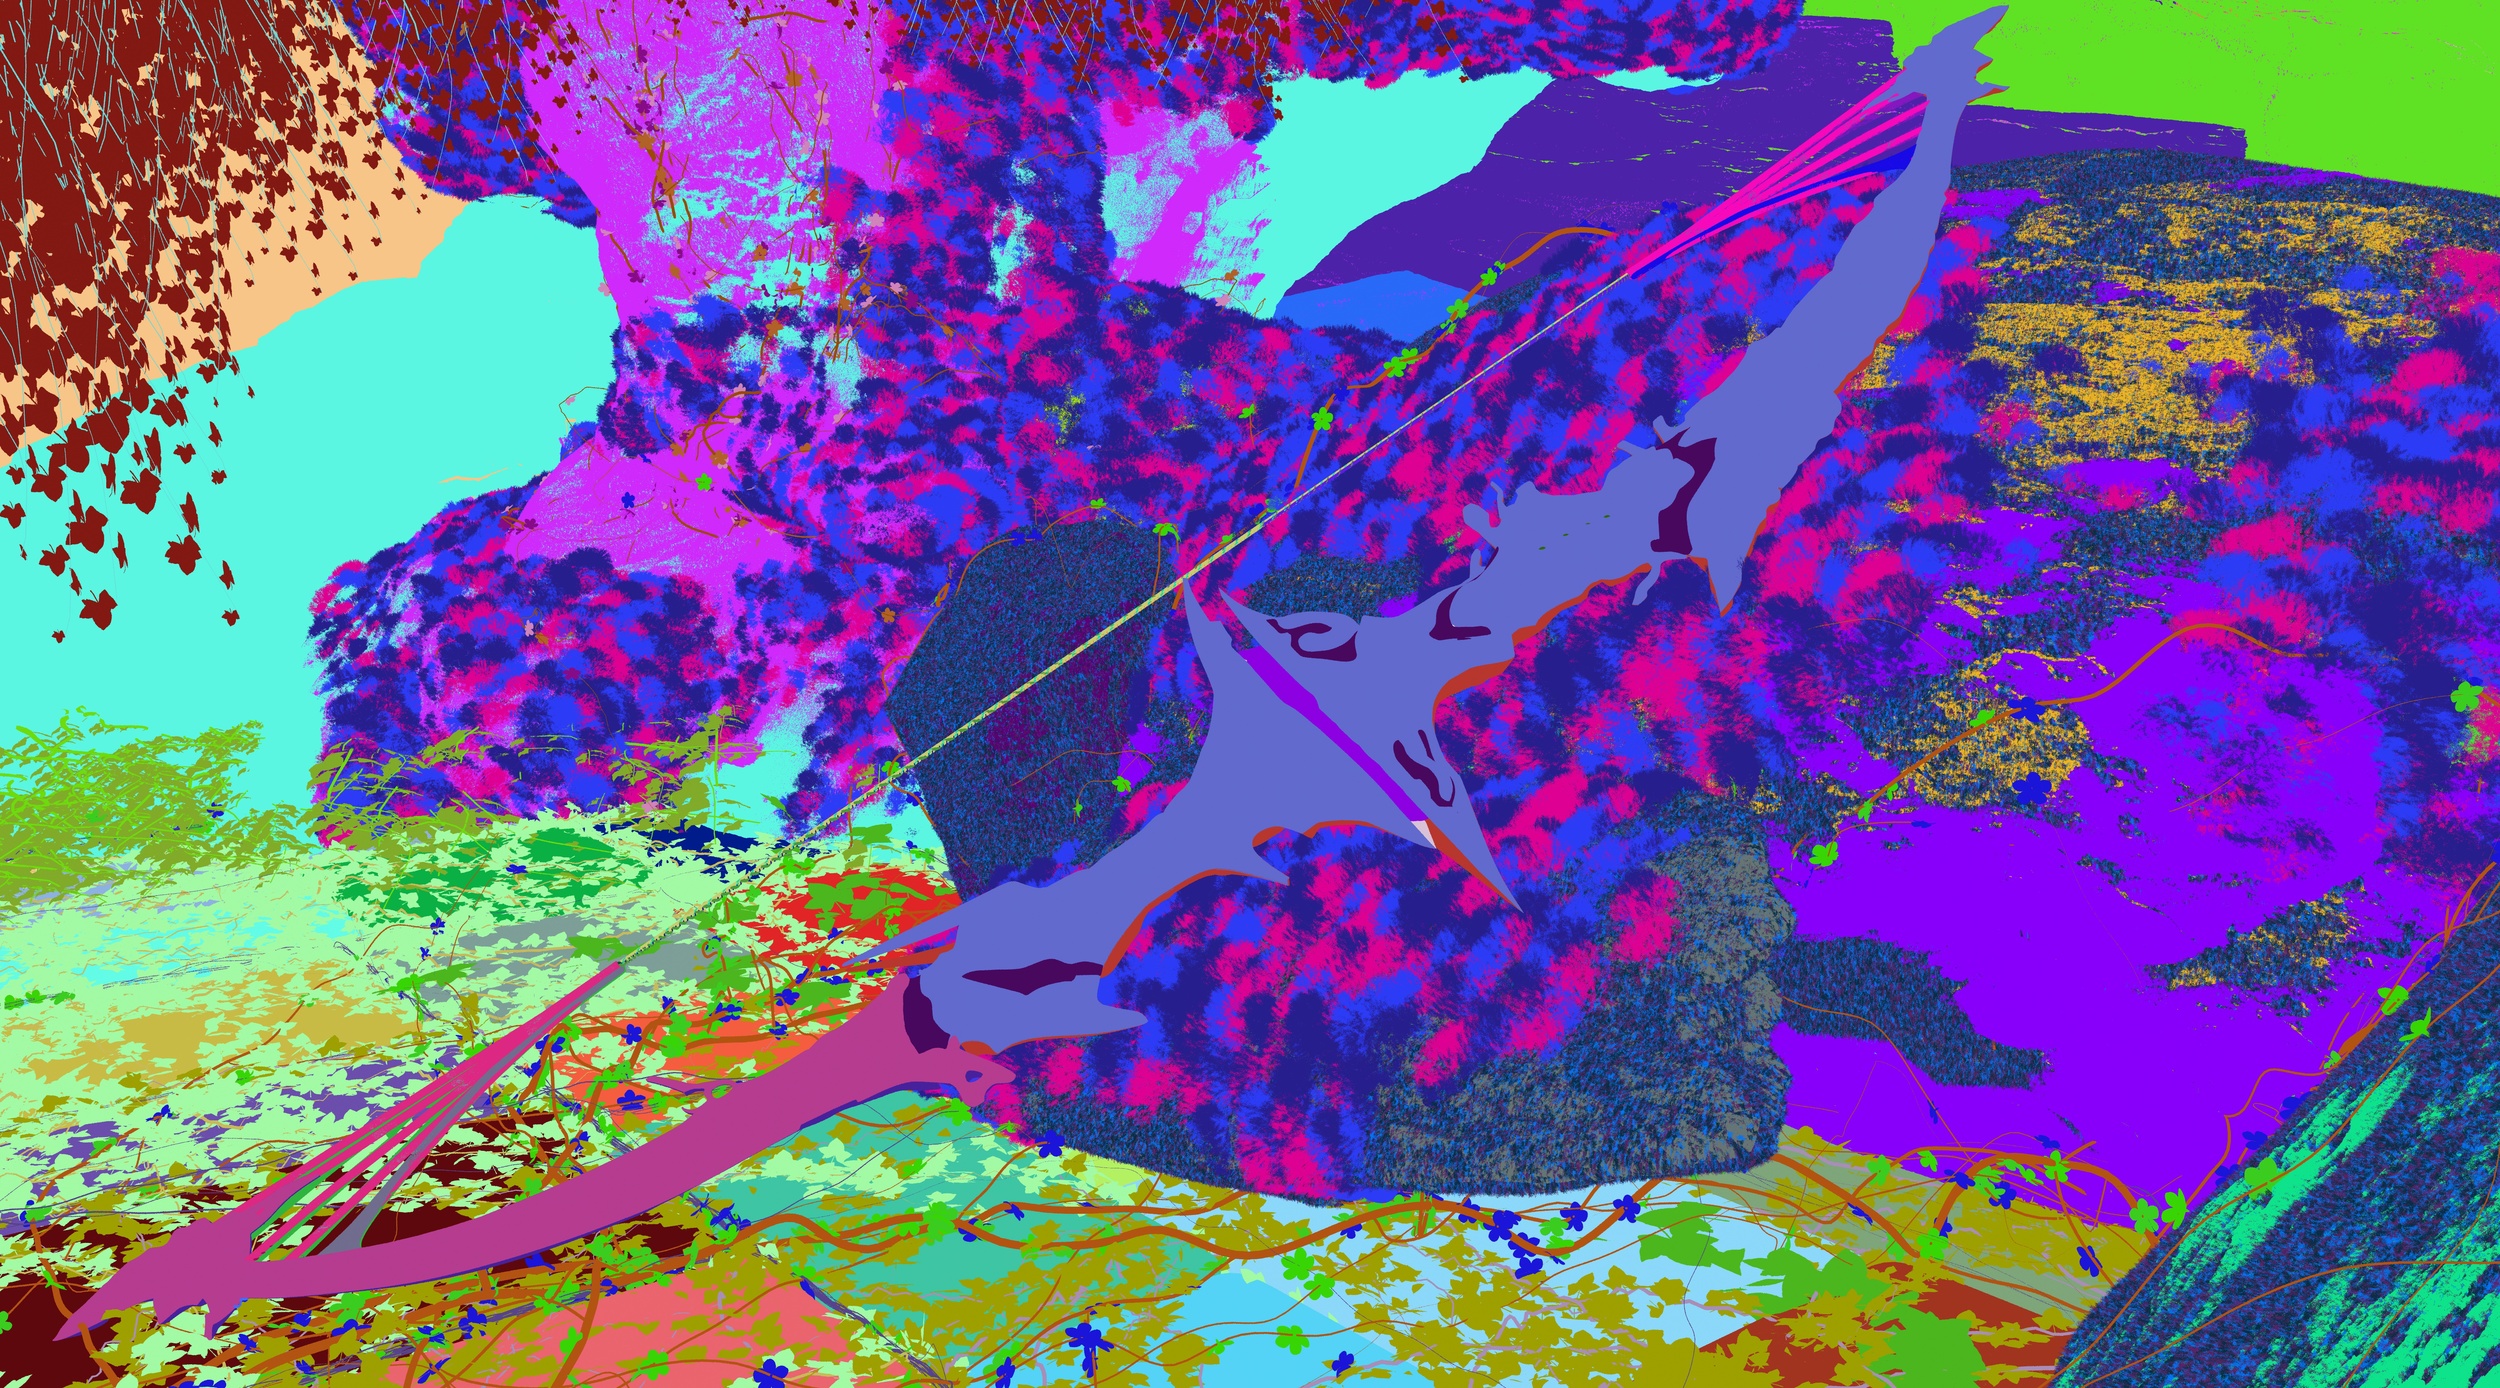
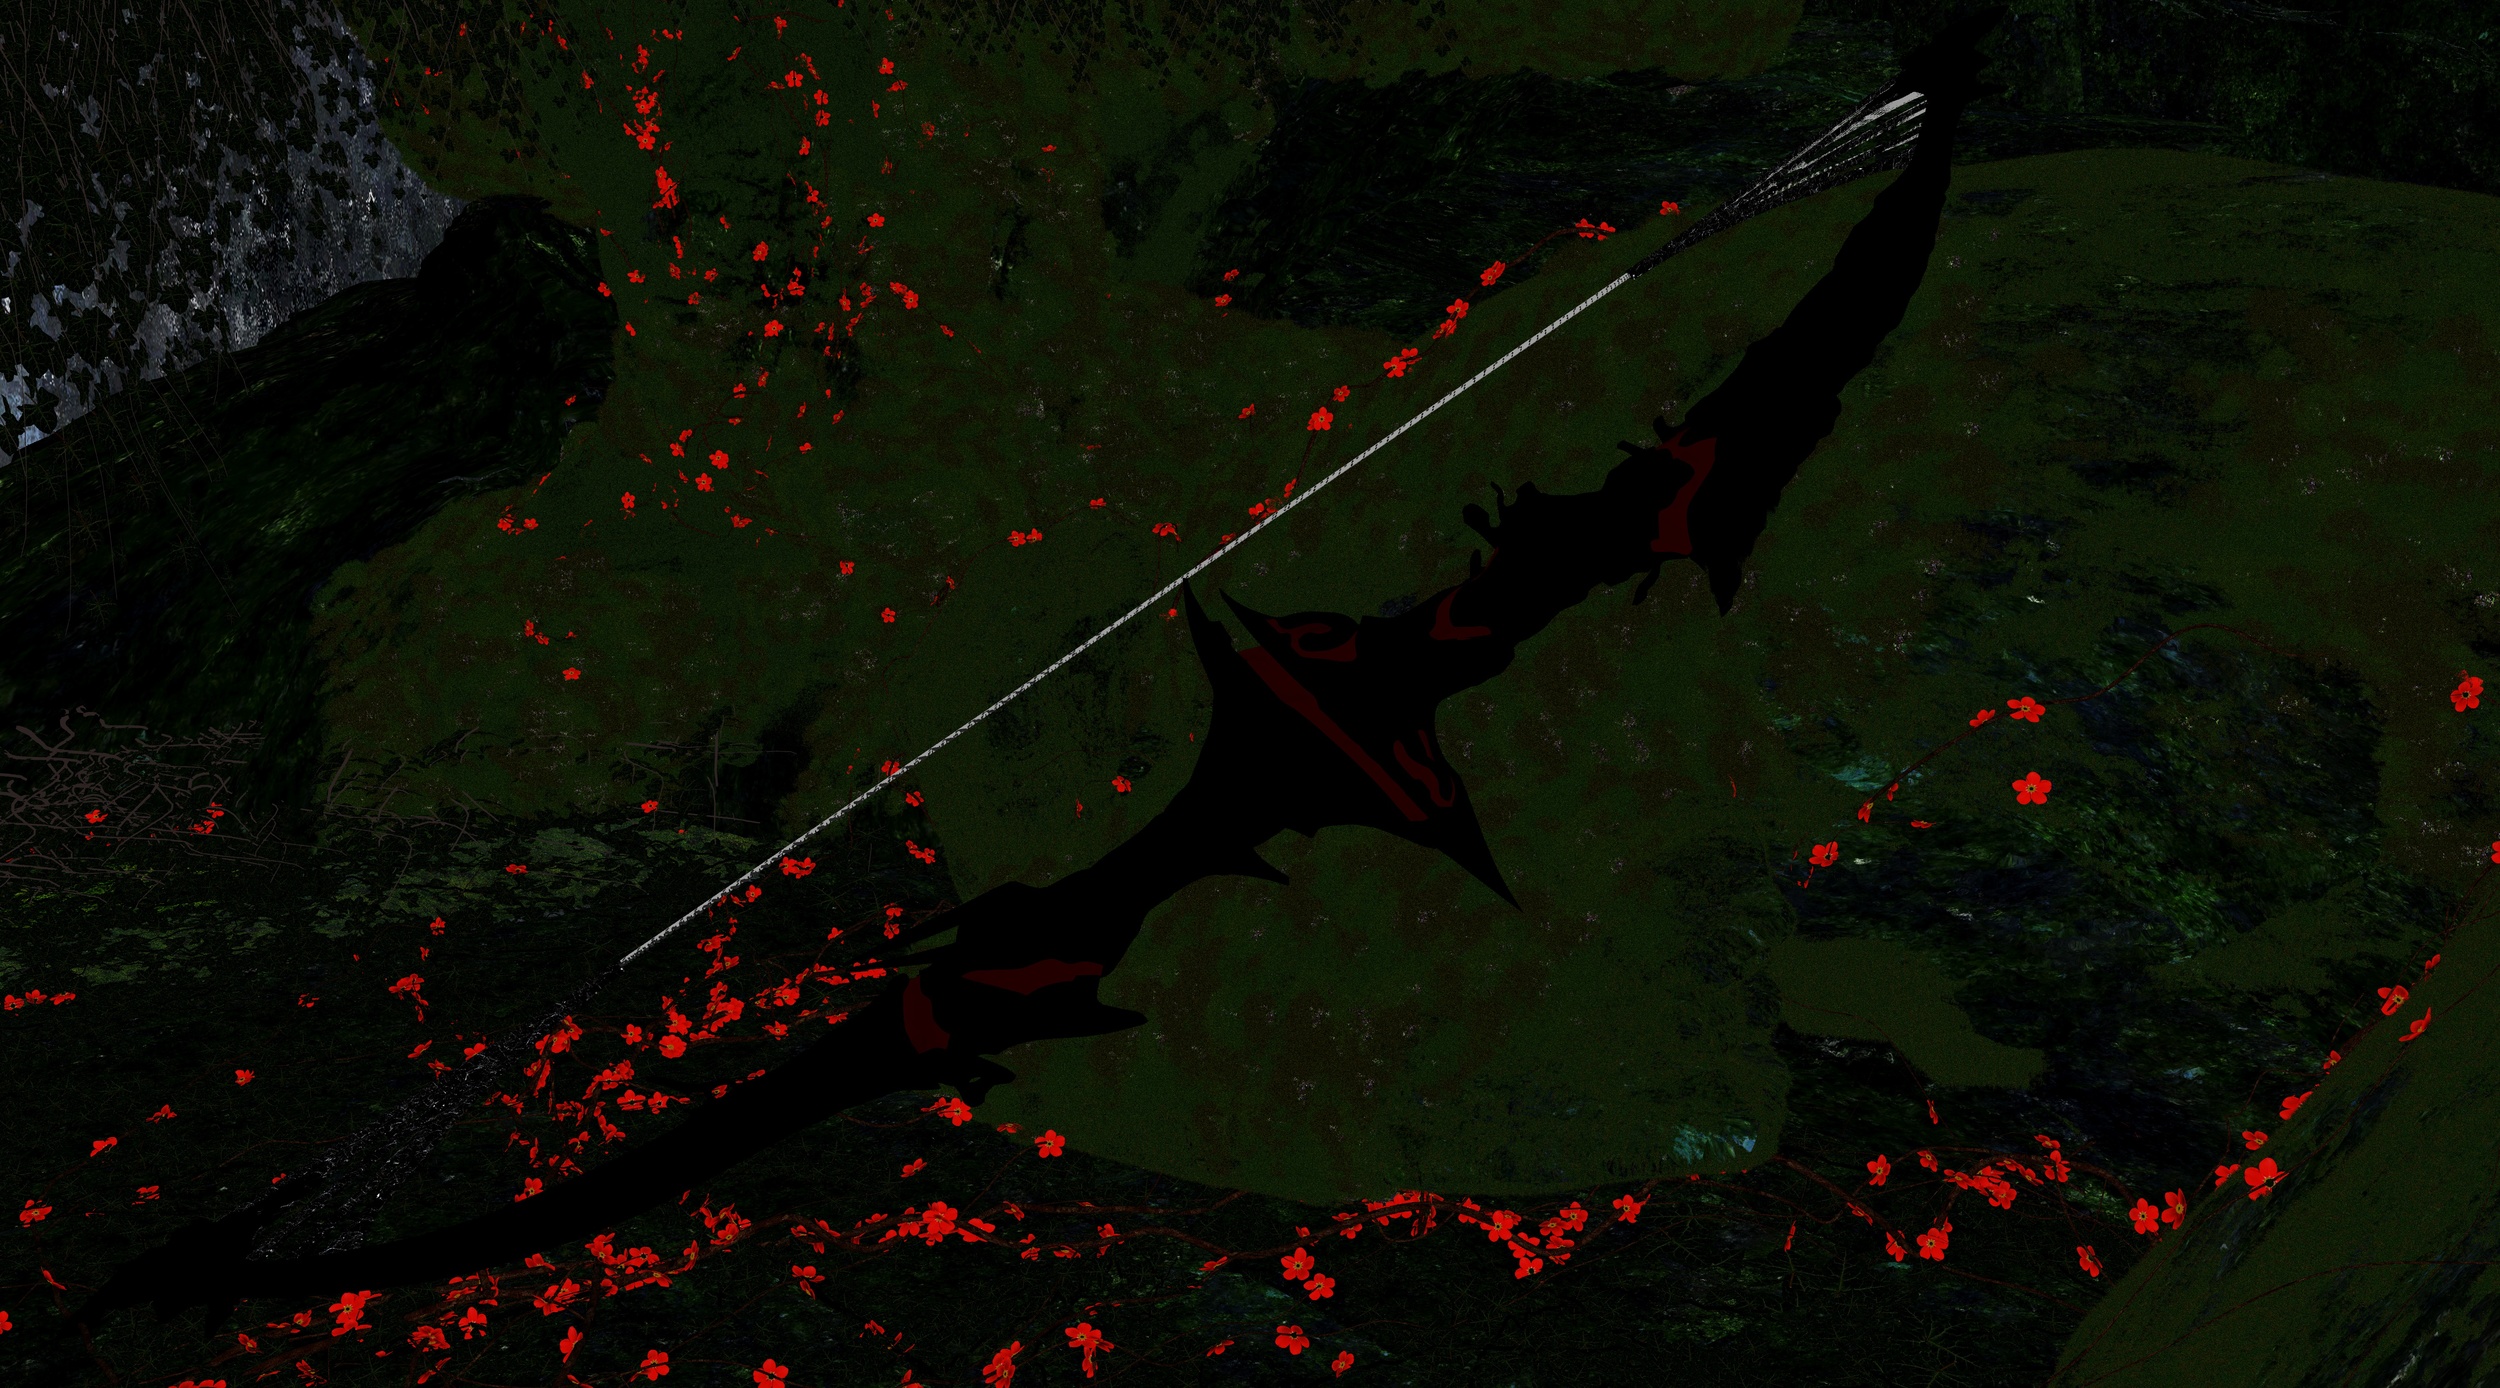
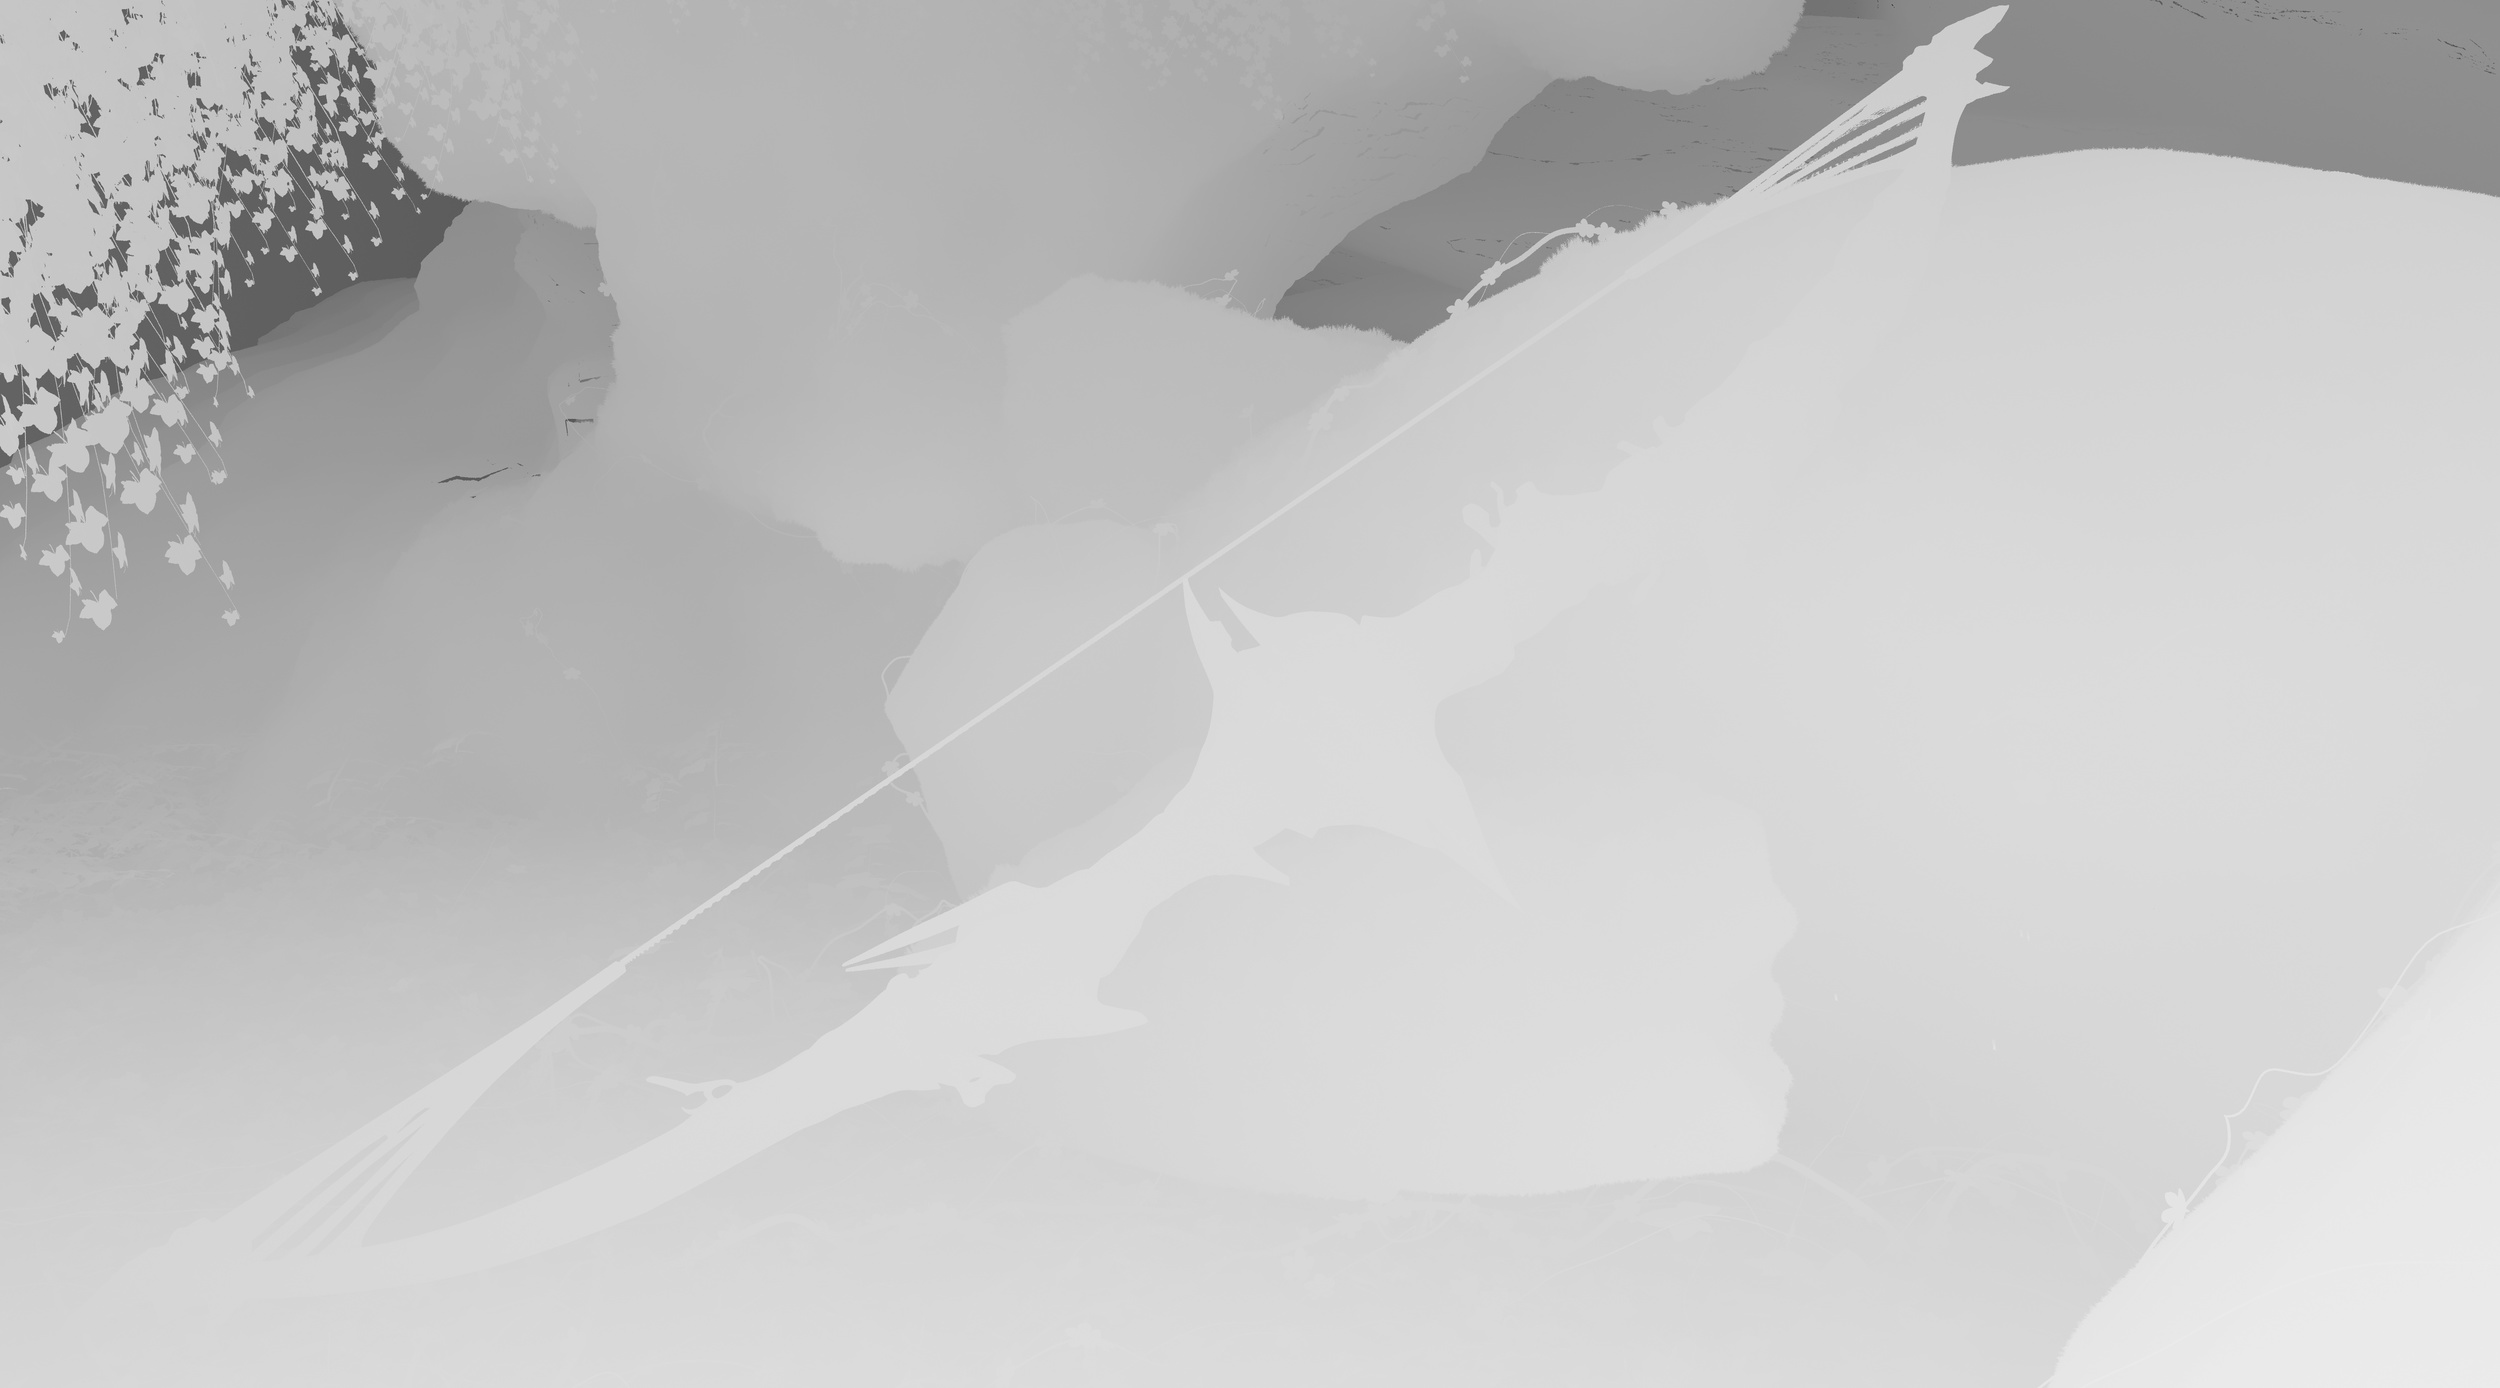
The rendering was done with Corona, using pathtracing as the primary and secondary solver for test renders; & for the final render I used UHD cache as the secondary solver. The render passes and compositing were kept relatively minimal. Below are a few of them, from right to left: Cmasking ID, beauty pass, source color, zdepth.
Finish
Anyway, that's it!
Hope you enjoy the walkthrough and art. =}
-Zach

